
Fortunately, there's a way to use QPC responsibly so your designs are highlighted and your work is at least somewhat streamlined. Here's how I handle it for the DDGraphix site.
First, I made a set of templates. I did that by creating templates in Quick Product Create using the guidelines in the Zazzle seller blog. Don't worry, it's easy.
The very first thing to do is set yourself up a "Templates" section. Under "Products," click on "Add New Product Line." I actually put my "Templates" section under "New Products," but put yours wherever it makes sense to you.
I used "all products" to set up my initial set of template items. Then, before even completing the template process, I went through and slimmed that offering down. I went with one male model, one female model, and one child model. I left in a magnet, button, and key chain but just one of each. I also left in vertical and horizontal stamps and vertical and horizontal cards. I ditched neckties, it's not something I'll use. Obviously your own choices may differ, but think of trying to distill to one of each orientation of paper products and one of each type of model for clothing, etc.
That becomes my main template for all new items I want to use Quick Create on. I'm now ready to actually put a design on many products. When deciding whether to use Quick Create, I first make sure that it's appropriate to put the same categories, description and tags on all the items. If I need to do special tags and descriptions for each item then QPC isn't the right thing to do.
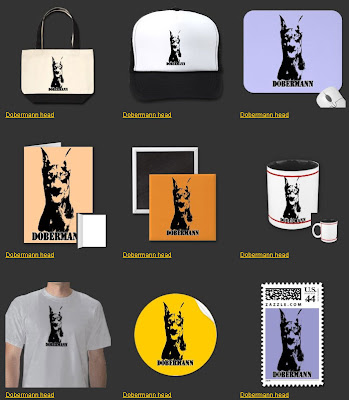
Once the main design is loaded and you hit to create products, your real work begins. Because if you want your design to be successful, you need to be prepared to prune your offerings and modify the ones left. Let's take this Doberman design. The main design is just a black and white Doberman head. It's vertical, so the first thing I did was toss out the horizontal stamps, cards, etc. that QPC had pulled from my template. Then I went into the Customize feature on each item. I worked on size, added some background colors, etc. My goal is to show my potential buyers how good the design looks in a variety of products but not overwhelm them with pages and pages.
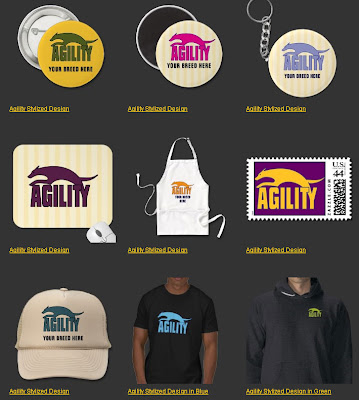
Another great use of QPC is to highlight a design you have available in several color combinations. In the case of this stylized agility design, I did it in many colors. I want to display different colors on different products, and in the description I will be sure to mention that it can be available on ANY product in any color.
If you put your quality time into this main section of QPC, it will reap you huge benefits. You can then move to the best feature of QPC, the ability to assign a description, category and tags to a number of different items all at once. Be careful in your description and don't be afraid to add extra info. I always point out that shirt styles can be changed for instance.
QPC really can be useful, but it should be used with understanding and respect. Don't spam your site with lots of products, but do use QPC to apply a design thoughtfully to a smaller subset of products.


No comments:
Post a Comment